
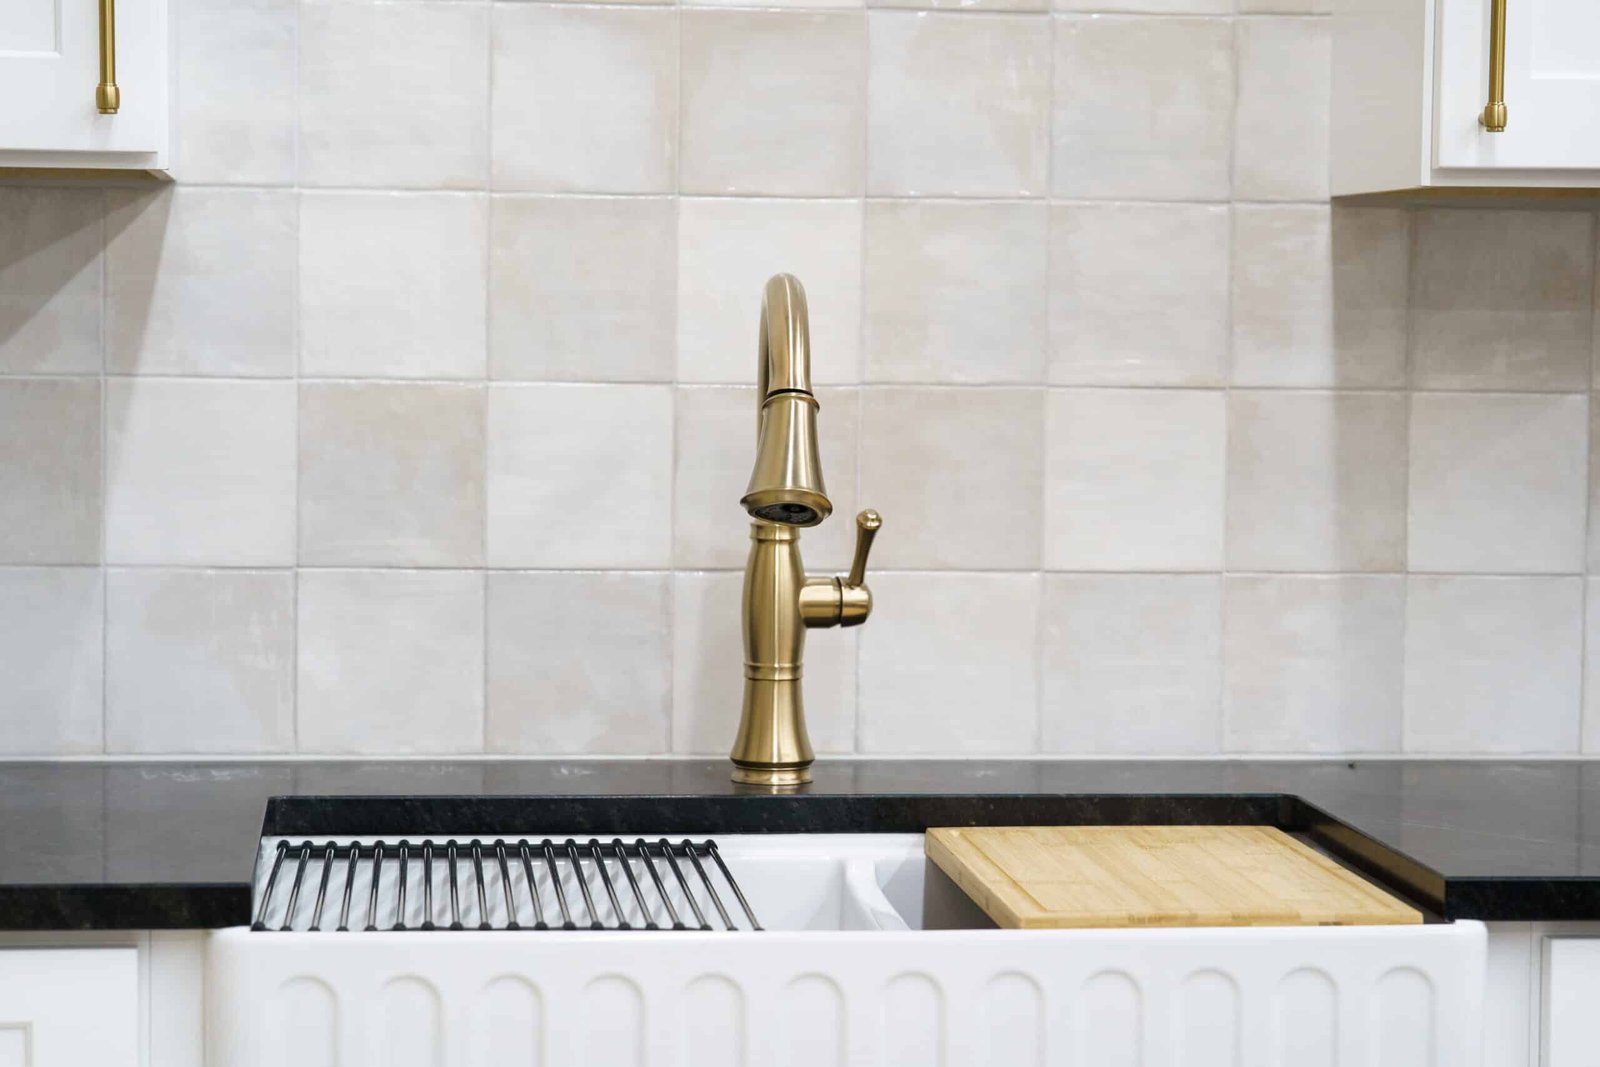
A tile backsplash is one of the most effective ways to transform a kitchen or bathroom. It adds color, texture, and personality while also protecting walls from moisture, stains, and everyday messes. Whether you prefer classic subway tile, bold patterns, natural stone, or modern glass tile, a well-planned backsplash can become one of the most eye-catching features in your space.
However, a successful backsplash installation requires more than simply choosing a tile you like. Careful planning, accurate material calculations, and proper preparation are essential for achieving a professional-looking result.
This guide covers the key steps involved in planning a tile backsplash installation, from design decisions and material estimates to surface preparation and installation preparation.
1. Start With Your Backsplash Design Plan
Before purchasing materials, take time to consider the overall look you want to create. A backsplash should complement your countertops, cabinets, flooring, and other finishes while adding its own design element.
2. Choose the Right Tile Material
Tile backsplashes are available in a wide range of materials, each with different characteristics.
- Ceramic Tile – Ceramic tile is one of the most popular backsplash choices because it is affordable, versatile, and available in countless colors and styles. Benefits include:
- Budget-friendly
- Easy to clean
- Wide variety of designs
- Simple maintenance
- Porcelain Tile – Porcelain tile is denser and more durable than ceramic tile, making it a great option for homeowners seeking a long-lasting surface. Benefits include:
- Highly durable
- Resistant to moisture
- Available in many styles
- Can mimic stone or wood
- Glass Tile – Glass tile creates a bright, reflective appearance and works especially well in modern kitchens and bathrooms. Benefits include:
- Adds visual depth
- Easy to clean
- Resistant to stains
- Available in many colors
- Natural Stone Tile – Materials such as marble, travertine, and slate provide a unique, natural appearance. Natural stone typically requires sealing to protect against moisture and staining. Benefits include:
- Premium appearance
- Unique patterns and textures
- Adds character to a space
3. Consider Tile Size and Layout
- Subway Pattern – A classic brick-style layout that works well with traditional and modern kitchens.
- Stacked Pattern – Tiles are aligned in straight rows for a clean, contemporary look.

- Herringbone Pattern – Creates movement and visual interest with angled tile placement.
- Mosaic Pattern – Small tiles create detailed designs and decorative accents.
- Large Format Tile – Large-format tiles can make a backsplash feel more spacious, while smaller tiles can add texture and detail.
4. Coordinate With Existing Finishes
A backsplash should work with the other materials already in your kitchen or bathroom. Consider:
- Cabinet color
- Countertop material
- Flooring style
- Hardware finishes
- Wall paint color
5. Measure Your Backsplash Area
Accurate measurements are essential for purchasing the correct amount of tile and installation materials.
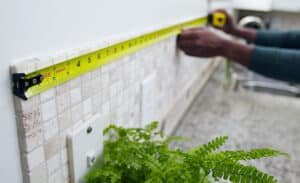
Measure:
- Length of each wall section
- Height from countertop to cabinets
- Areas around outlets and corners
- Spaces behind appliances
For most backsplash projects:
Length × Height = Square Footage
Repeat this calculation for each section and add the totals together. At Tile Liquidators, the first step in our process when you install through Tile Liquidators is going out ourselves and thoroughly measuring your space to give you an accurate idea of our scope of work!
6. Account For Tile Waste

- 10% extra: Standard layouts with simple cuts
- 15% extra: Complex patterns, diagonal layouts, or specialty tiles
7. Plan For Grout and Installation Materials
- Tile Adhesive or Mortar – The correct adhesive depends on the tile material and installation surface. Follow manufacturer recommendations for the best results.
- Grout – Grout fills the spaces between tiles and affects the overall appearance. For example, darker grout can highlight tile patterns, while matching grout creates a more seamless appearance. Consider color choice, joint size, and maintenance requirements
- Sealer – Natural stone tile and cement-based grout often require sealing to protect against stains and moisture.

(Photo via The Spruce) - Trim Pieces – These create a clean transition where tile meets walls, cabinets, or countertops. Tile edges may require finishing pieces such as bullnose tile, metal edging, and decorative trim.
8. Prepare the Installation Surface
Proper preparation is one of the most important steps in a backsplash project. Taking time to plan these details helps prevent uneven cuts or awkward tile placement. Before installation:
- Clean the Wall Surface – Remove grease, dirt, dust, and residue. Kitchen walls especially may require degreasing before tile installation.
- Check For Damage – Repair cracks, holes, uneven surfaces, and loose drywall areas. A smooth, stable surface helps ensure proper tile adhesion.
- Remove Obstacles – Prepare the area by removing outlet covers, cleaning countertops, protecting nearby surfaces, and moving appliances if necessary.

- Plan Around Outlets and Obstacles – Electrical outlets, windows, cabinets, and corners require careful planning. Before installing tile, be sure to mark outlet locations, and plan cuts before applying adhesive. Consider outlet extenders if tile thickness changes wall depth.
Create a Backsplash You’ll Enjoy For Years
A tile backsplash can dramatically improve the appearance and functionality of your kitchen or bathroom, but careful planning is the key to a successful project.
 Whether you are creating a simple subway tile backsplash or a custom decorative feature, thoughtful preparation will make the installation process smoother and help you achieve a professional-quality finish.
At Tile Liquidators, we provide more than just materials; we provide the expert guidance to ensure your selections coordinate perfectly, and last for years. Our experts can help you assess your needs, educate you on the upkeep required, and connect you with the local professional teams who have the expertise to do the job right.